Starting a new project with a new dev team is always a tricky action. You have to understand how your budget will be used and what results to achieve.
And one of the ways to understand that you meet your goals with the chosen team is through a process that they are using in the project’s development.
I’d like to share our usual development process which will give you an idea of how it should look and what you can ask about your future development team.
Step 1: Initial project discussion

This step can take about 30-60 minutes to discuss the goal of the project, dive into details and create a basic plan on how to proceed.
It doesn’t mean that the dev team will rush to the development right after the call. If the team doesn’t clearly understand your aims they will go in the wrong direction.
The team will see what you have at the start and should suggest creating all the necessary materials before the development: wireframes, specifications, design, etc.
The result of this call will be a step-by-step plan with a description of the next steps.
Step 2: Wireframes

Based on the information after the initial project discussion in our case, the most common step is to create wireframes.
Why is wireframing so important?
It doesn’t cost a lot and allows you to create a sketch of your project of what it will look like.
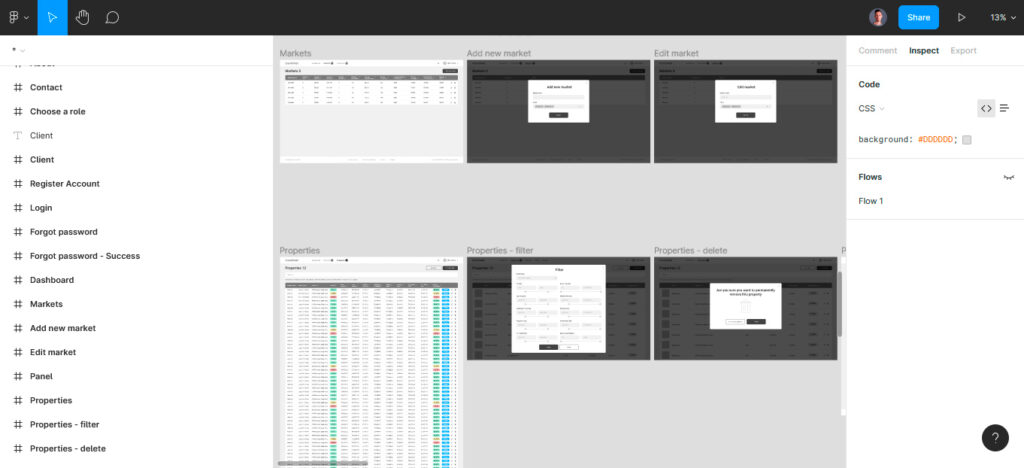
We usually do these sketches in Figma. It allows our designer to create very easily all the necessary pages with pre-built elements we’ve created especially for wireframing.
The most important thing is to be with a client on the same page. And sketches in Figma allow doing that because they show each page and all links between different pages.
Wireframes are usually created with close communication with a client. Calls happen 2-3 times per week because this process causes a lot of questions and a client should be always in contact to adjust the wireframes if needed.
The result of this step will be very similar to a real application sketch with the right connections between different sections.
Step 3: Project specifications

The most boring and at the same time the most important part for developers. When a team is working on your project it is important to keep all information in one place. And this place is a project specification.
It is created after the wireframes. Wireframes help to describe each feature and each page for developers.
This file always should be updated during the whole development process.
In our case project specifications contains the following information:
- Short project description
- Materials (all sketches, images, templates in one place)
- Definitions (all entities should be clearly described for a team)
- Models (helps to prepare database structure)
- General format for dates/time/numbers
- Functionality
- Nice to have features
It isn’t the full list of information that can be included in the project description. It may vary from project to project but it should contain at least these sections.

The result of this stage will be a clearly described file with all information about features and how they should work.
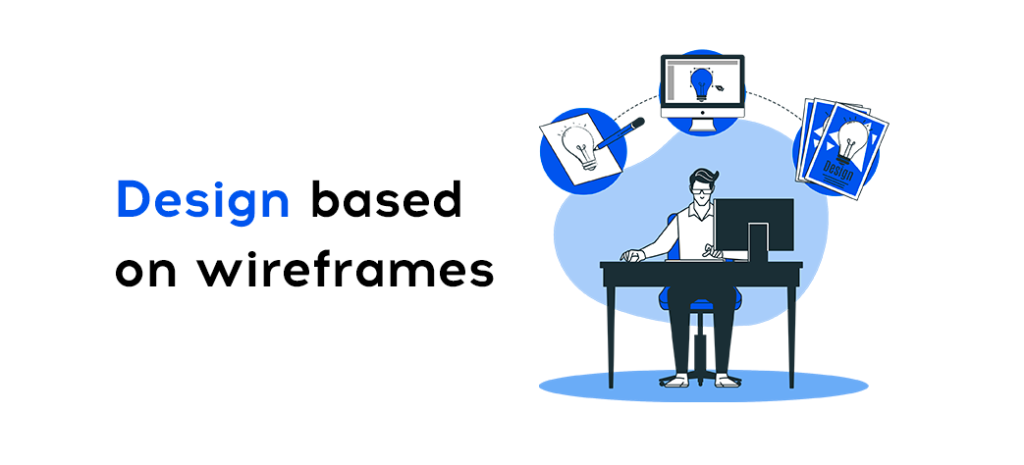
Step 4: Design
This step sometimes can be optional. It depends on the end goal.
When we create a solution for an internal process we can use pre-build UI libraries and don’t allocate time for a design because it can be done later.
Also, when a client wants to create MVP very fast and functionality is more important rather than the design we can use the same approach.
In case when we have to create the design the “Step 1: Wireframes” helps a lot at this step and the design process goes much faster. We usually ask clients about 1-2 examples of websites to understand the direction.
Then we create 3 examples in different styles where the client can choose one of them and our designer will continue with this choice.

The result of this step is to create the design for all pages in Figma with the appropriate connections between pages.
Step 5: Project initializing – onboarding process

At this place we have:
- Wireframes
- Project specifications
- Design
It allows to discuss the project in detail and add the team for a project that may contain:
- Project manager
- DevOps
- Front developer
- Backend developer
The number of team members can vary but I mentioned the most important team members.
DevOps engineer helps to configure CI/CD processes and create auto-deploy. It will take time when the project is starting and some support during the development.
Auto-deploy reduces the time for developers to upload manually source code to the server and build it. It will happen automatically.
At this step, we have created a place where we will store our source. Usually, it is GitHub, Bitbucket, or Gitlab. We use Jenkins for these purposes.
It also helps to create test development and production development environments.
A project manager (PM) is a person who is always in contact with clients and manages the development team during the week. PM creates projects in Asana/Jira to manage all tasks and keep the progress on track.
The project manager also creates scheduling for daily meetings, weekly spring planning meetings, and meetings with clients.
The result of this stage is to prepare everything to start the development.
Step 6: Development
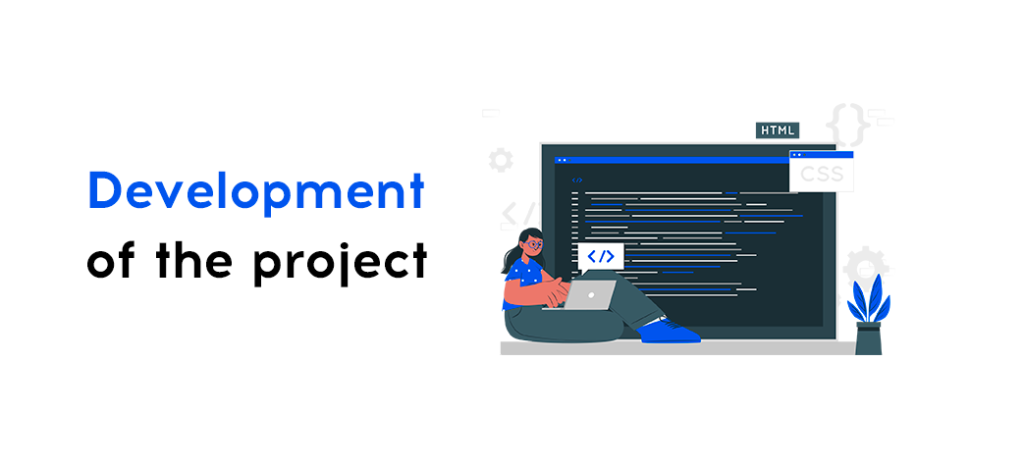
As you can see the main step is only the sixth in the whole development process…
We already have projects in Asana/Jira, the development team understands what they have to create and in what timeline based on project specifications.
DevOps configured the CI/CD process (auto-deploy) for developers.
Each team member understands what should be done and finally, we can start the development
Every week there is a meeting with a team where all team members discuss the following tasks, and estimate them and the PM sends this estimation to a client. It allows a client to plan the budget and understand the progress.
A meeting in 1-2 weeks with a client on a regular basis should be scheduled to demonstrate what was done during the previous sprint (1 or 2 weeks ago).
This step takes the most time.
The result of this step is to deliver a ready-to-use solution that meets clients’ expectations.
Step 7: Testing

I added this step as an additional but actually, it linked with the previous “Step 6: Development”. Using QA engineers we can be confident about the appropriate development of features.
Also, developers can create unit tests. It also depends on the initial budget for a project.
QA engineers can create manual tests or automated tests to find all bugs and unexpected cases before moving the product to production.
The result of this step is to find and fix all possible bugs in the product.
Step 8: Delivery to the production

This is the final step after finishing the development. We move all the source code to the client’s repositories (Bitbucket, GitHub, or Gitlab) and all materials that belong to a client.
The project should be moved to the production client’s server.
Conclusion
As you might have noticed there are a lot of important steps in project development. But it won’t be very difficult if you choose the right development team for a project because this team will ask you the right questions at the right time and will lead you through all the steps very smoothly.
I don’t recommend skipping these steps because they are the most important in project development.
Before hiring any dev team I highly recommend checking whether they have at least these 8 steps in their process.
I wish you to find the best team for your next project and meet all your goals!
Yury Nemets,
CEO and co-founder at Exore LTD
If you want to learn more about web development processes schedule a call with us –>
Schedule a call